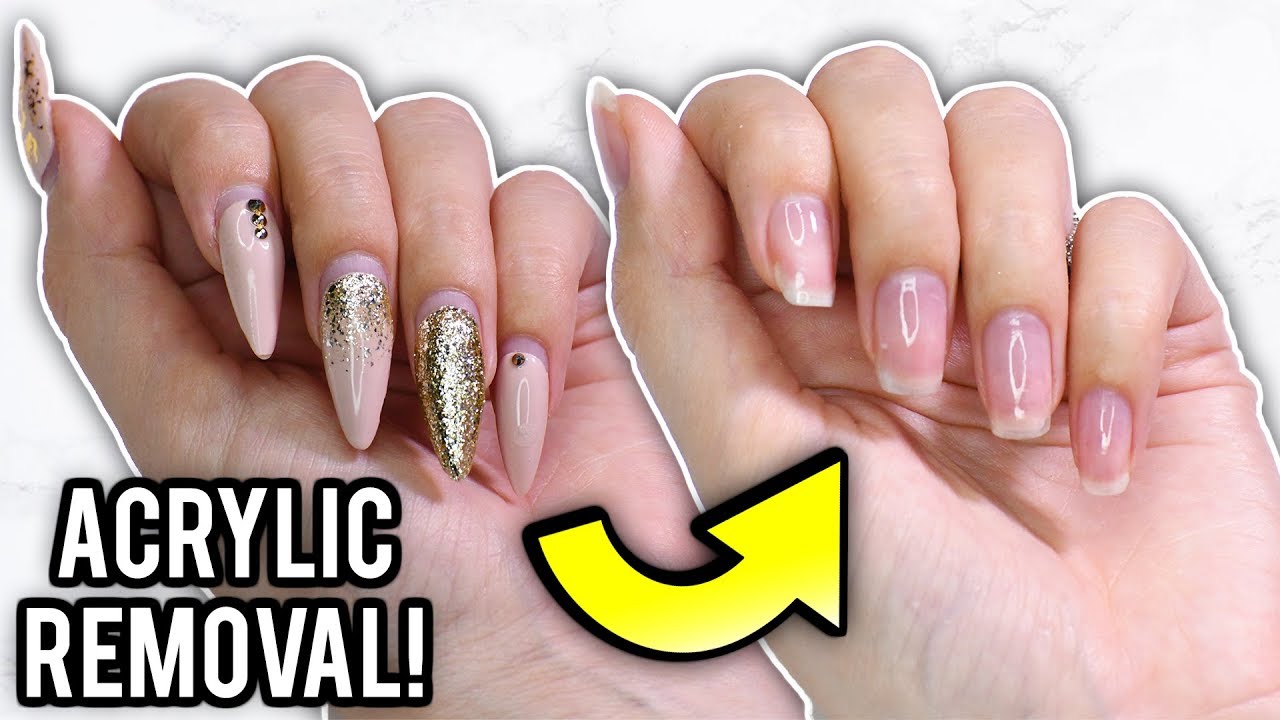
How To Get Acrylic Nails Off Safely At Home
Sometimes, you just need a fresh start for your nails. Perhaps those stunning acrylics have served their purpose, or maybe it's just time for a change. You might be thinking about a salon visit, but what if that's not quite in the cards right now? Well, you can take some of our experts’ advice on how to remove acrylic nails at home, and it's surprisingly simple, too.
If a trip to the nail place isn't happening, and you really need those acrylics off, following some clear steps can make all the difference. You'll be surprised how easy it is to remove them safely at home with just a few things you likely already have or can easily get. It's about being gentle and knowing the right process, which, you know, makes things a lot smoother.
Forcibly peeling off or biting your acrylic nails can lead to damaged nail beds, infections, and prolonged recovery times. Proper removal ensures not only the appearance but also the health of your natural nails. So, let's look at how to do this the right way, protecting your hands and keeping them looking good.
- Breckie Hill Shower Leak Video
- Jenna Ortega Net Worth
- When Does Peysoh Get Out Of Jail
- Hobby Lobby Wood Arch Backdrop
- Is Peysoh In Jail
Table of Contents
- Why Gentle Removal Matters for Your Nails
- What You'll Need for At-Home Acrylic Removal
- Step-by-Step Guide to Removing Acrylics
- Frequently Asked Questions About Acrylic Removal
- Your Nails Deserve Care
Why Gentle Removal Matters for Your Nails
When it comes to taking off acrylic nails, how you do it really impacts your natural nails underneath. As a matter of fact, many people worry about damaging their nails during this process, and for good reason. Forcibly pulling or prying off acrylics can cause significant harm, tearing away layers of your natural nail plate. This can leave your nails thin, weak, and prone to breaking.
Damaged nail beds are a real concern, too. When the natural nail is compromised, it becomes more susceptible to infections, which can be quite painful and take a long time to heal. You really want to avoid those kinds of issues. Proper removal, by contrast, helps keep your nail beds healthy and intact, allowing your natural nails to grow out strong and sound.
It's not just about avoiding immediate damage, either. Long-term nail health is pretty important. A gentle approach means less stress on your nails, leading to quicker recovery times and a better foundation for future manicures, if that's what you like. So, taking the time to do it right is a very worthwhile investment in your nail's well-being.
- Khamzat Without Beard
- Overtime Megan And Antonio Brown
- Taylor Swift Cry
- You Like My Voice It Turn You On Lyrics
- Florida Baseball Coach Scandal
What You'll Need for At-Home Acrylic Removal
Before you begin, gathering all your supplies makes the process much smoother. You don't want to be halfway through and realize you're missing something, do you? Having everything ready means you can move from one step to the next without interruption, which is pretty convenient.
Here's a list of what you'll want to have on hand:
- 100% Pure Acetone: This is the most important item, as it's what truly breaks down the acrylic. Make sure it's pure acetone, not just nail polish remover, which is weaker.
- Cotton Balls or Pads: You'll need enough to cover each acrylic nail.
- Aluminum Foil: Cut into 10 small squares, roughly 3x3 inches, to wrap around your fingertips.
- Nail Clippers: For trimming down the length of your acrylics.
- Nail File or Buffer: A coarse grit file (around 100/180) is good for filing down the top layer of the acrylic.
- Cuticle Pusher or Orangewood Stick: These are very useful for gently nudging off softened acrylic.
- Small Bowl (Glass or Ceramic): If you prefer to soak your entire hand. Make sure it's not plastic, as acetone can damage it.
- Towel: To protect your work surface from acetone spills.
- Petroleum Jelly or Cuticle Oil: To protect the skin around your nails from drying out.
- Hand Lotion or Moisturizer: For aftercare, to rehydrate your hands and nails.
Having these items ready before you start will really help the whole process go more easily. It's almost like setting up a little mini-salon right in your own home, which is rather nice, actually.
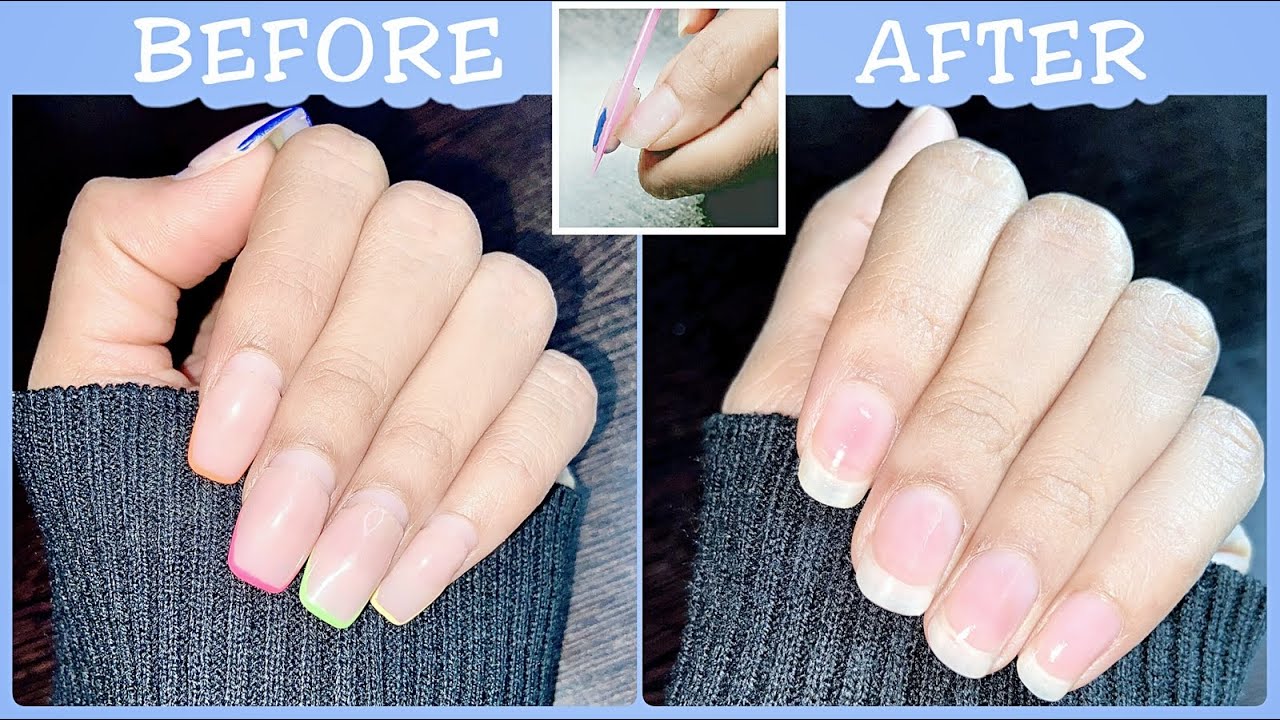
Step-by-Step Guide to Removing Acrylics
Taking off acrylic nails at home is a process that requires patience and a gentle touch. Rushing things can cause harm, so just take your time. Here's how to go about it, following advice from those who know a lot about nails.
Prepare Your Nails
First things first, you have to give your nails a good trim. Losing the length is a bit of a bummer, but it'll move the process along faster, honestly. Ideally, clip all the acrylic extensions close to your natural nail length. This reduces the amount of acrylic that needs to be soaked off, which, you know, saves time.
After trimming, use a coarse nail file to gently file down the top layer of the acrylic. You're aiming to remove the shiny top coat and a bit of the acrylic itself, making it porous. This helps the acetone penetrate more effectively. Be careful not to file down to your natural nail, just the acrylic. This step is pretty important for a good soak.
Before you start the acetone part, it's a good idea to protect your skin. Acetone can be very drying, so apply a generous amount of petroleum jelly or cuticle oil to the skin around your nails and on your cuticles. This creates a barrier, helping to keep your skin from getting too dry or irritated. It's a small step, but it makes a big difference in comfort.
The Acetone Soak Method
To remove acrylic nails at home, an acetone soak is necessary to help lift up the acrylic. To that end, the easiest way to remove acrylic nails fast is to cover them with a cotton ball soaked in acetone. There are a couple of ways you can do this, depending on what you find more comfortable, so just pick what works for you.
Method 1: The Foil Wrap
This is a very common and effective method. First, soak a cotton ball in 100% pure acetone until it's quite saturated. Place this cotton ball directly on top of your trimmed and filed acrylic nail. Then, take one of your pre-cut aluminum foil squares and wrap it tightly around your fingertip, securing the cotton ball in place. Make sure it's snug so the acetone doesn't evaporate too quickly. Repeat this for all your nails. This method really keeps the acetone concentrated on the nail, which is useful.
Method 2: The Bowl Soak
If you prefer, you can pour enough 100% pure acetone into a glass or ceramic bowl to cover your nails. After protecting your skin with petroleum jelly, submerge your fingertips into the bowl. This method can be faster for some, as all nails are soaking at once. However, it exposes more of your skin to the acetone, so make sure that skin protection is solid. It's a bit more intense, but it works.
Regardless of the method you choose, patience is key here. You'll need to let the acetone work its magic for a good amount of time. Generally, you should wait 20 to 30 minutes for the initial soak. Thicker acrylics may require longer soaking times, so just be prepared for that. You might even need to re-soak cotton balls or change the acetone if it gets too diluted, which happens sometimes.
Checking for Softness
After the initial soaking period, it's time to check your progress. Check one nail after 20 minutes to see if the acrylic is softening. You can gently unwrap one finger or lift it from the bowl. At this point, the acrylic should feel soft and gummy, indicating it's ready for the next step. It's almost like it's melting, in a way.
If the acrylic still feels hard or resistant, don't force it. Just re-wrap or re-submerge that nail and give it more time. Sometimes, another 10 to 15 minutes can make all the difference. Remember, thicker acrylics, or those with gel polish on top, might need a bit longer to truly soften up. Patience here really prevents damage, so just let it do its thing.
Gently Remove the Acrylic
Once the acrylic is soft and gummy, you can start the removal process. Loosen the base of the nail with a pick, then. Use your cuticle pusher or orangewood stick to gently scrape or push the softened acrylic off your natural nail. Work slowly and carefully, starting from the cuticle area and moving towards the tip. The softened acrylic should come off quite easily, almost like a soft putty.
If you encounter any spots that are still hard or resisting, do not force them. Forcing can peel off layers of your natural nail, which is what we're trying to avoid. Instead, re-soak that particular nail for another 5-10 minutes. It's much better to take a little more time with the acetone than to cause damage. This step is about gentle persuasion, not brute force.
Once most of the acrylic is off, you might have some small, stubborn bits remaining. You can gently buff these away with a fine-grit nail buffer. Be very careful here, as your natural nails will be quite soft and vulnerable after the acetone soak. The goal is to smooth out the surface without further thinning your natural nail. Just a light touch is needed, really.
Aftercare for Your Natural Nails
After you've successfully removed all the acrylic, your natural nails will likely feel a bit dry and weak. This is perfectly normal, as the acetone can strip away natural oils. This is where proper aftercare comes in, and it's quite important for helping your nails recover. You want to nourish them, basically.
Start by washing your hands thoroughly with soap and water to remove any remaining acetone residue. Then, apply a generous amount of a rich hand lotion or moisturizer to your hands and nails. Really massage it in, paying special attention to your nail beds and cuticles. This helps to rehydrate your skin and nails immediately. You could also use a good quality cuticle oil, which is very helpful for nourishing the nail plate itself. Learn more about proper nail care on sites like the American Academy of Dermatology, which is a good reference.
For the next few days, keep your nails moisturized and avoid harsh chemicals. You might want to give your nails a break from polish for a week or two, allowing them to breathe and recover their strength. If your nails feel very brittle, consider applying a nail strengthener or a clear protective base coat. This helps to provide a little barrier while they get stronger. Your nails will be pretty sensitive, so treat them gently.
You can also gently push back your cuticles after showering, when they are soft. This helps to keep the nail bed looking neat and promotes healthy nail growth. Just be very gentle; don't cut them. A little regular care goes a long way in bringing your nails back to their best state. It's almost like giving them a spa day, actually.
Frequently Asked Questions About Acrylic Removal
People often have questions about taking off acrylics at home. Here are some common ones:
Is it bad to remove acrylic nails at home?
No, it's not bad if you follow the correct, gentle steps. The key is to avoid forcing or peeling the acrylic, as that's what causes damage. Using pure acetone and being patient helps keep your natural nails healthy. You know, it's about doing it the right way.
How long does it take to remove acrylic nails with acetone?
Typically, the soaking process takes about 20 to 30 minutes initially, but thicker acrylics might need longer, perhaps up to an hour or even more with re-soaks. The entire process, including prep and aftercare, can take anywhere from 45 minutes to an hour and a half, so just allow yourself enough time.
What if my acrylic nails won't come off after soaking?
If they're still stubborn, it means they need more time in the acetone. Don't force them. Re-soak the nail for another 10-15 minutes. Make sure your acetone is 100% pure and that the cotton balls are fully saturated and making good contact with the acrylic. Sometimes, a bit more patience is all that's needed, which, you know, can be a little frustrating but it's worth it.
Your Nails Deserve Care
Taking care of your nails, whether they have acrylics or not, is a pretty important part of overall hand health. Knowing how to get acrylic nails off properly means you're protecting your natural nails from harm and setting them up for a strong recovery. It's a skill that can save you a trip to the salon and give you control over your nail care routine, which is rather empowering, actually.
Remember, your nails are part of you, and they deserve gentle treatment. By following these steps, you can remove your acrylics safely and effectively, leaving your natural nails ready for whatever comes next, perhaps a fresh coat of polish or just a chance to breathe. For more tips on keeping your nails in top shape, you can always Learn more about nail health on our site, and we have more helpful guides here, too.
- Madonna Stuns In New Selfie
- Influencer Guillermo
- Nomi Mac Miller
- Khamzat Beard
- Hobby Lobby Wood Arch Backdrop

HOW TO REMOVE ACRYLIC NAILS AT HOME WITHOUT ACETONE + BASIC MANICURE
Remove Acrylic Nails At Home: Step By Step How-To Tutorial - YouTube
HOW TO REMOVE ACRYLIC NAILS AT HOME WITHOUT ACETONE | BASIC MANICURE
